DocsEditor
Editor tour
A guided look at the VidNext timeline editor — tracks, preview, panels, and auto-save.
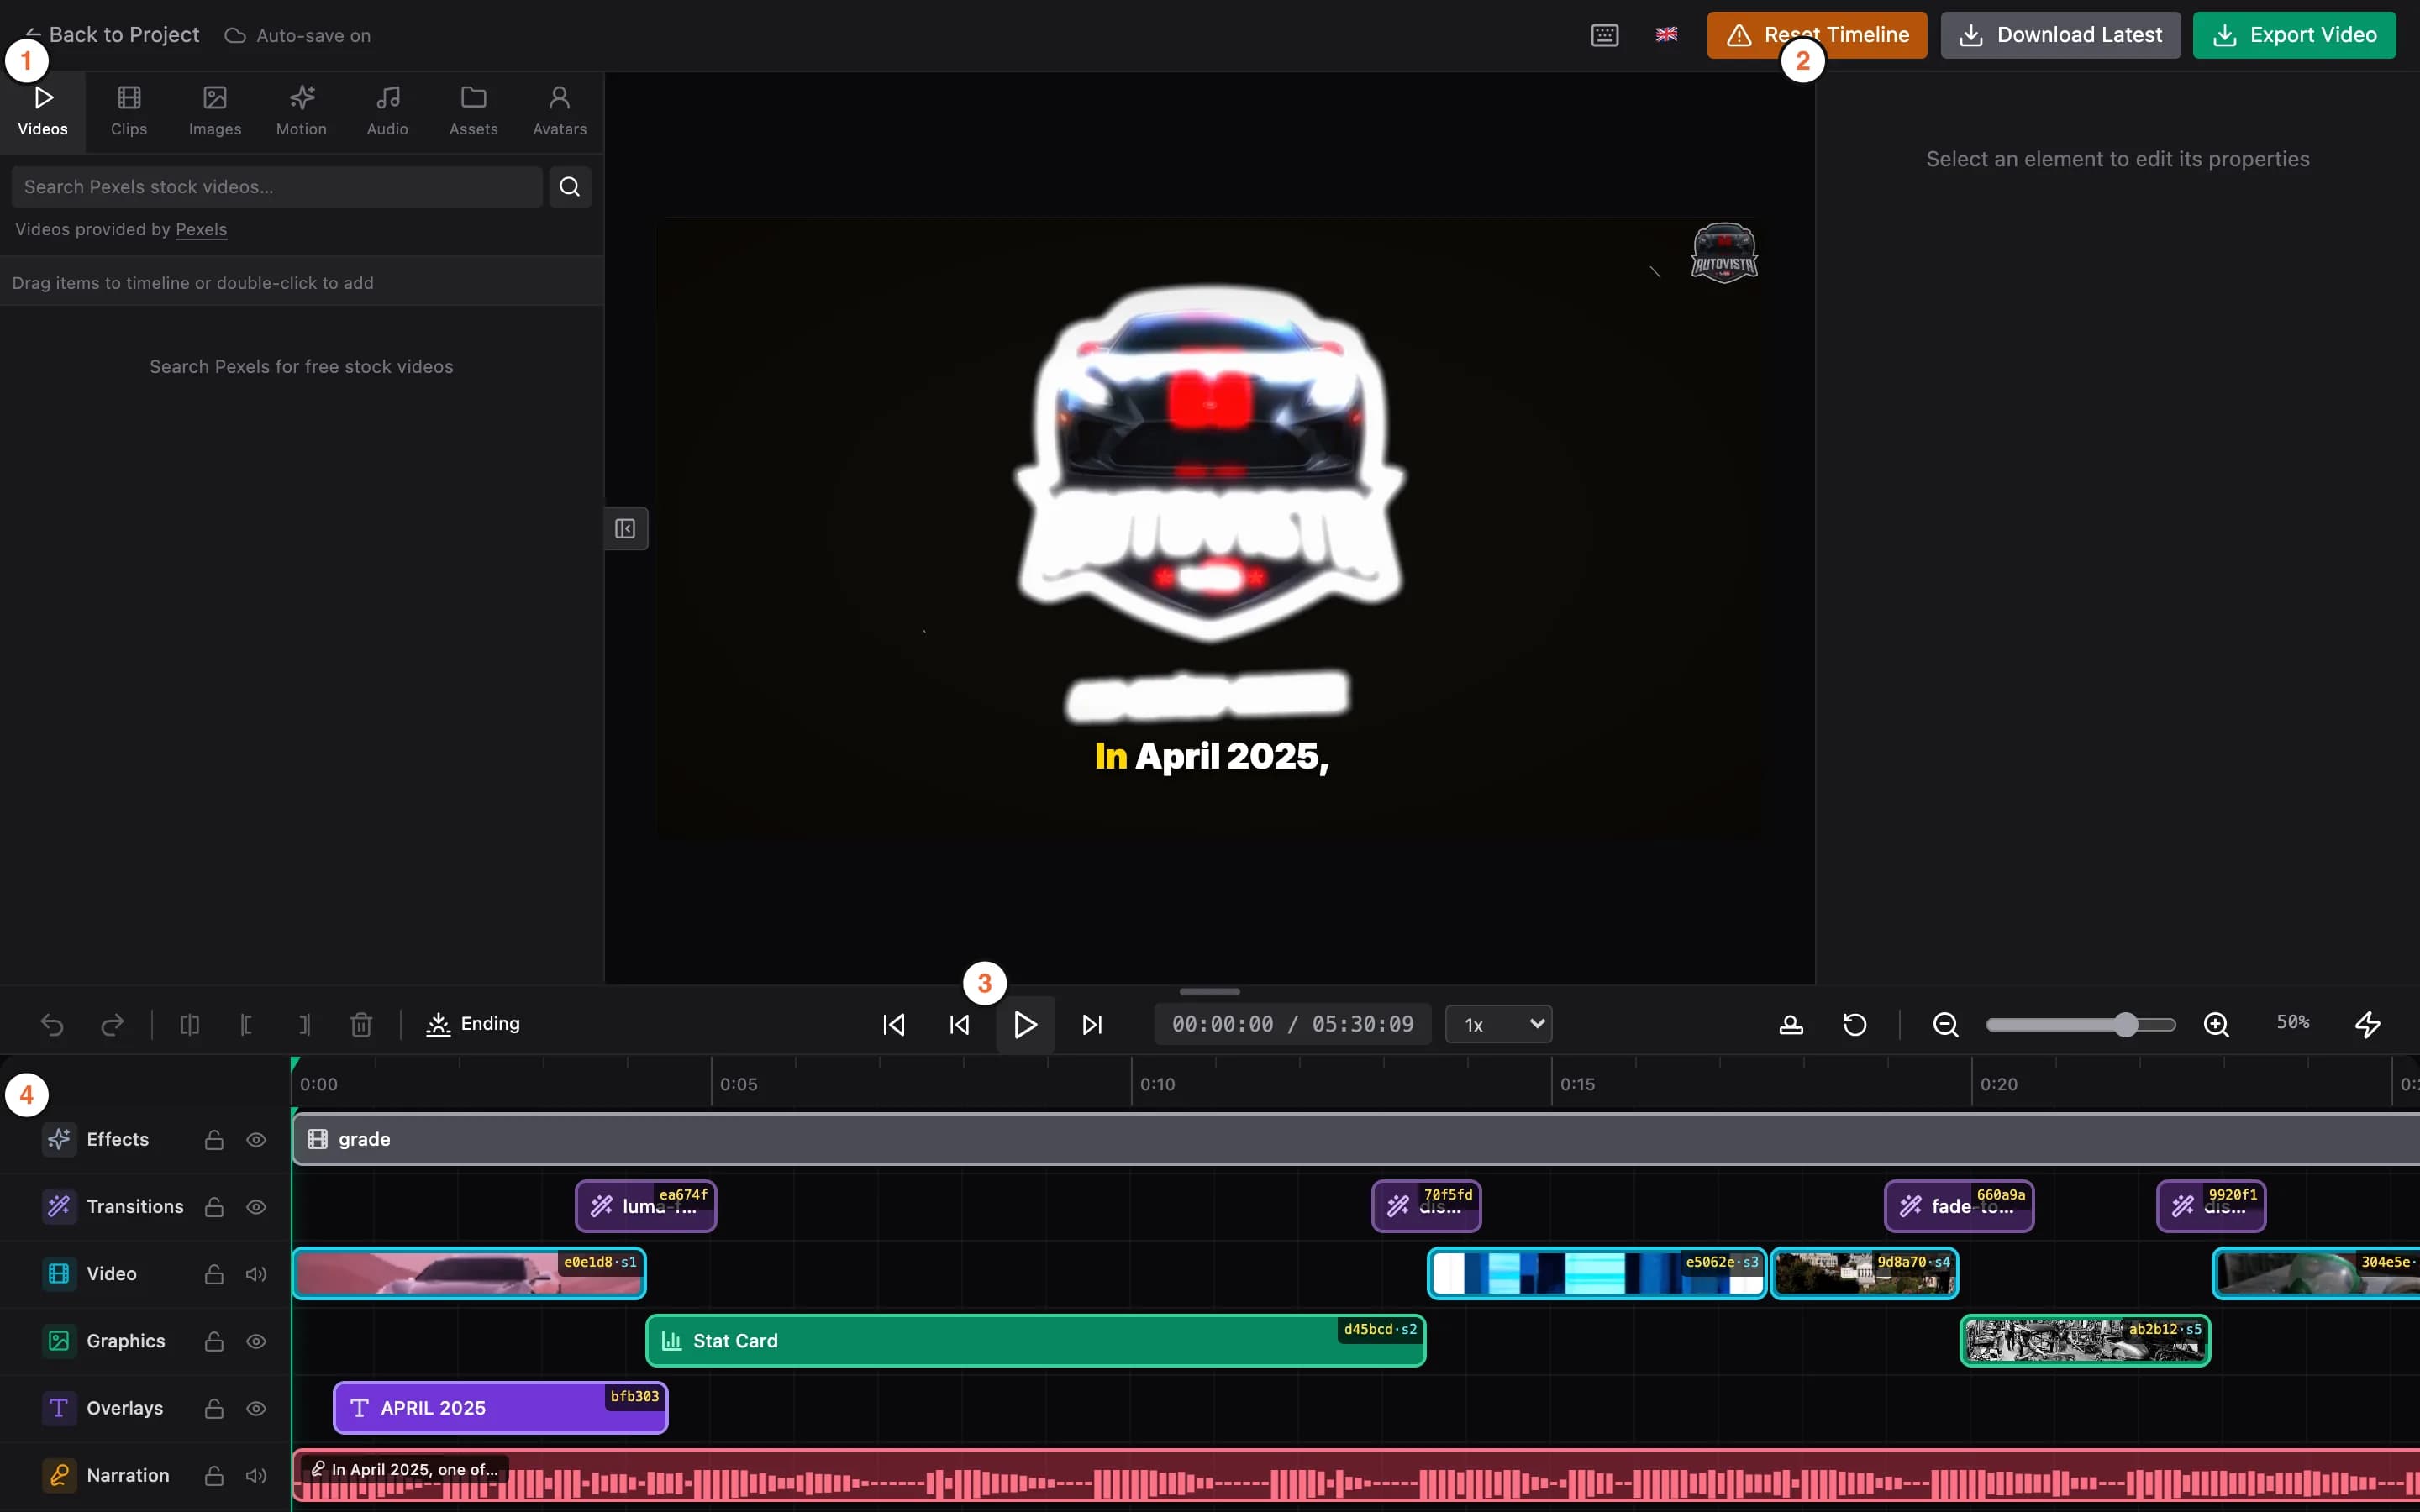
Every generated video opens in a full timeline editor. Nothing in the output is baked in: clips, narration, music, captions, overlays, and effects are all separate, editable elements.
The editor is currently in beta and rolling out to all users.
The layout
-
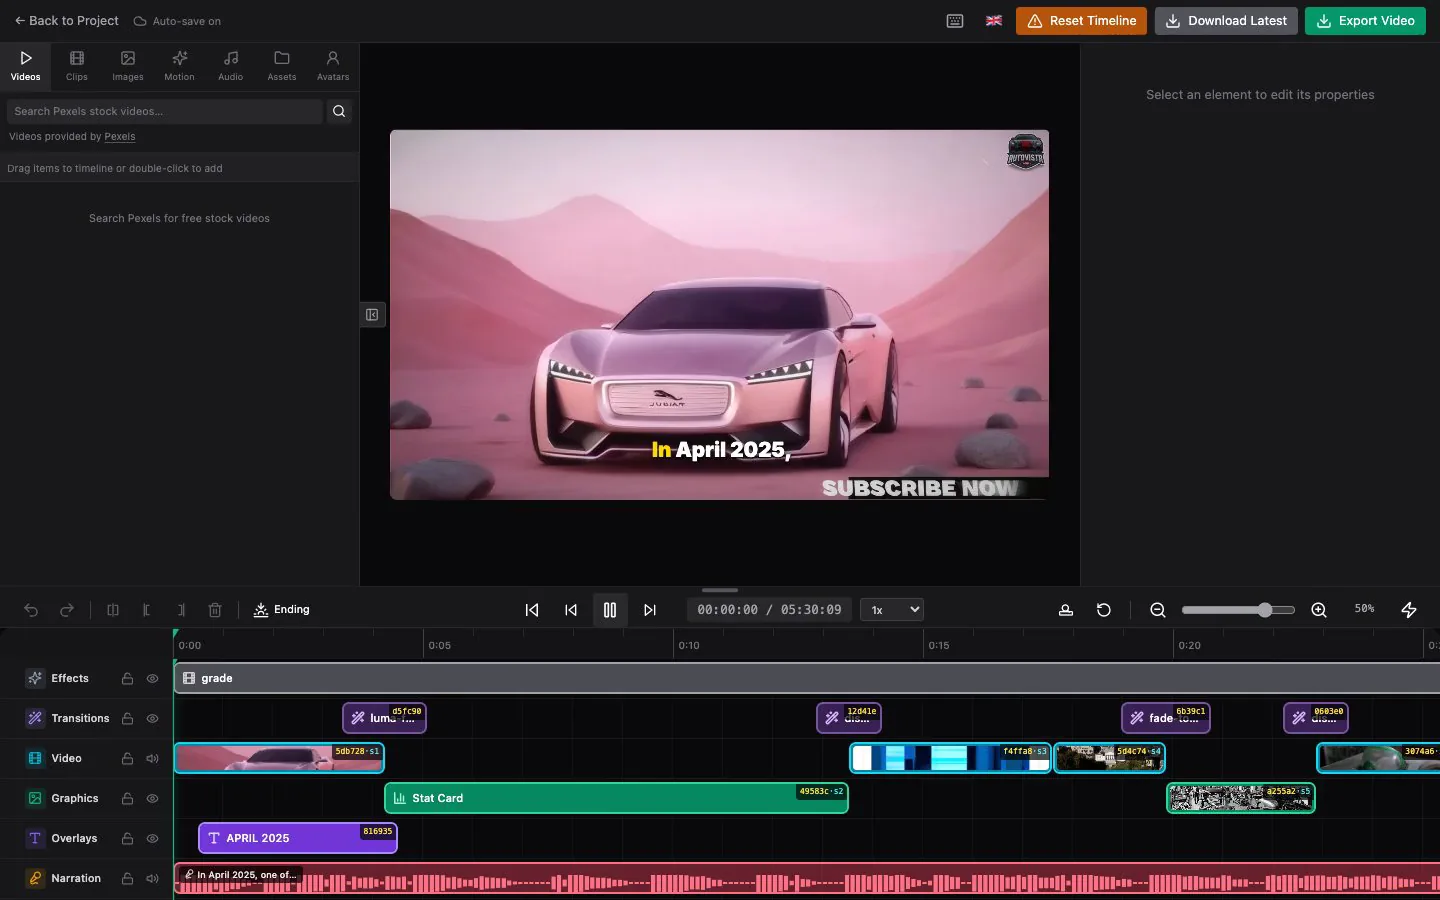
Preview — the video player with playback speed control Show me in the app ↗, jump-to-start, and ±5 second skips.
-
Timeline Show me in the app ↗ — a multi-track view of every element in the video (see below).
-
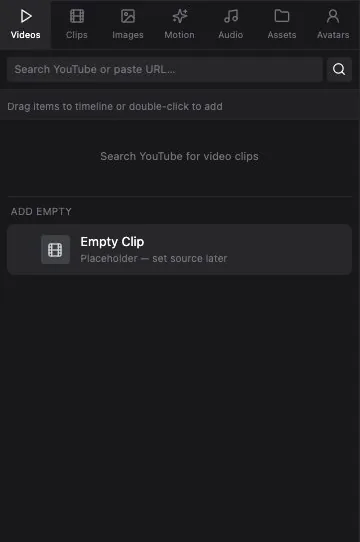
Media browser Show me in the app ↗ — a panel for adding new material: stock videos, YouTube clips, images (stock, web search, AI-generate, upload, or your channels' logos), motion design templates, audio, and your personal asset library (with folders and generous storage).
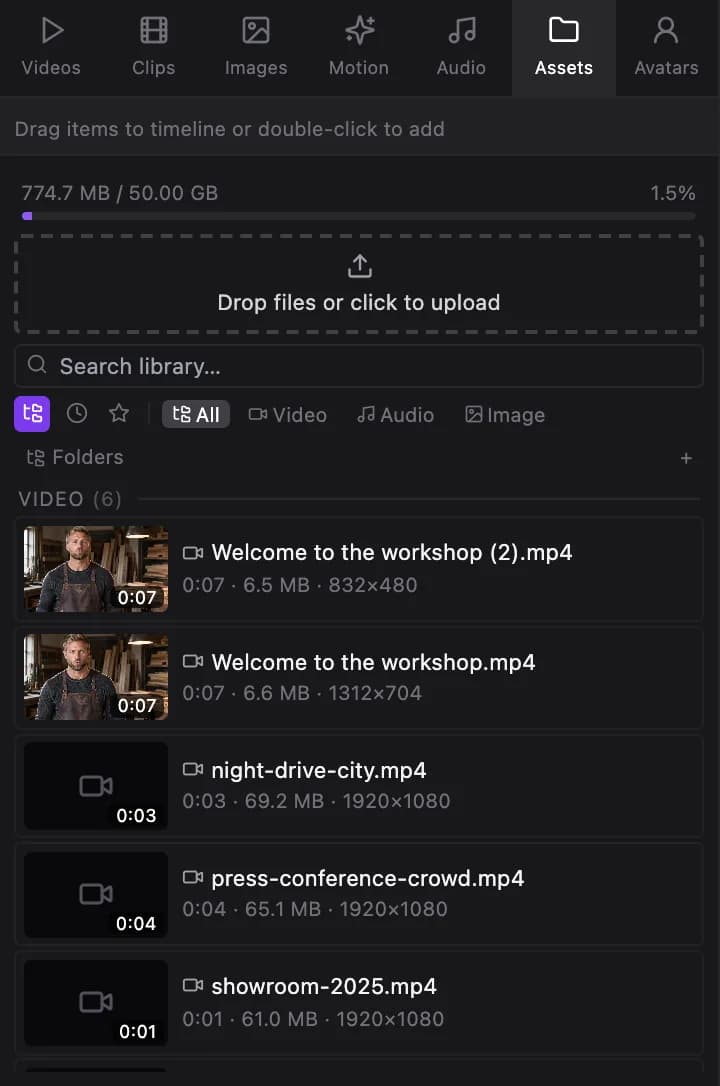
The Assets tab: your personal library with upload, folders and storage usage. -
Inspector Show me in the app ↗ — selecting any element opens its editing panel: trim controls for clips, script and voice for narration, style controls for overlays and captions.
Tracks
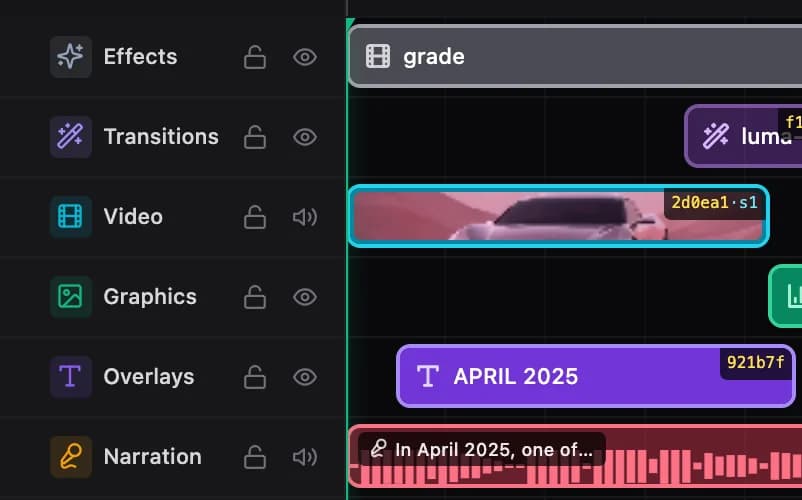
The timeline organizes elements into tracks: Video, Transitions, Overlays, Graphics, Narration, Music, SFX, Captions, Original Audio, and Effects — plus Avatar for a video with an AI presenter and Logo Show me in the app ↗ at the top for a video with your channel's logo (see The Logo track). Each track Show me in the app ↗ can be individually locked (prevent accidental edits), muted, or hidden — hiding affects both preview and export, which makes it easy to try a version without sound effects or without the film-grade effect.
Core editing

-
Undo / redo Show me in the app ↗ — Ctrl+Z / Ctrl+Shift+Z or Ctrl+Y (⌘ instead of Ctrl on a Mac)
-
Split at playhead Show me in the app ↗ — S
-
Delete Show me in the app ↗ — Delete or Backspace, with a choice to keep the gap or close the gap
-
Remove everything left or right of the playhead Show me in the app ↗, duplicate elements (Ctrl+D), enable/disable without deleting, multi-select and drag
-
Download a clip's file Show me in the app ↗ — the download button in the properties panel header, or right-click the clip → Download file Show me in the app ↗, saves that element's own media to your computer: a presenter take as an MP4, a video clip, an image, or an audio file (narration, music, a sound effect). Clips that carry no file — text, titles, transitions, captions — have no download.
-
Zoom in/out Show me in the app ↗, fit to view
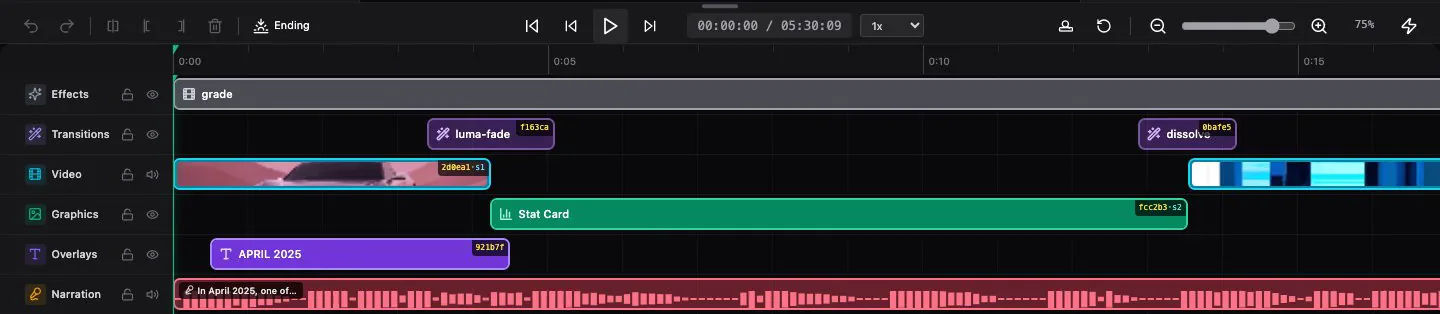
Zooming the timeline in and fitting it back to the screen.
Keyboard shortcuts
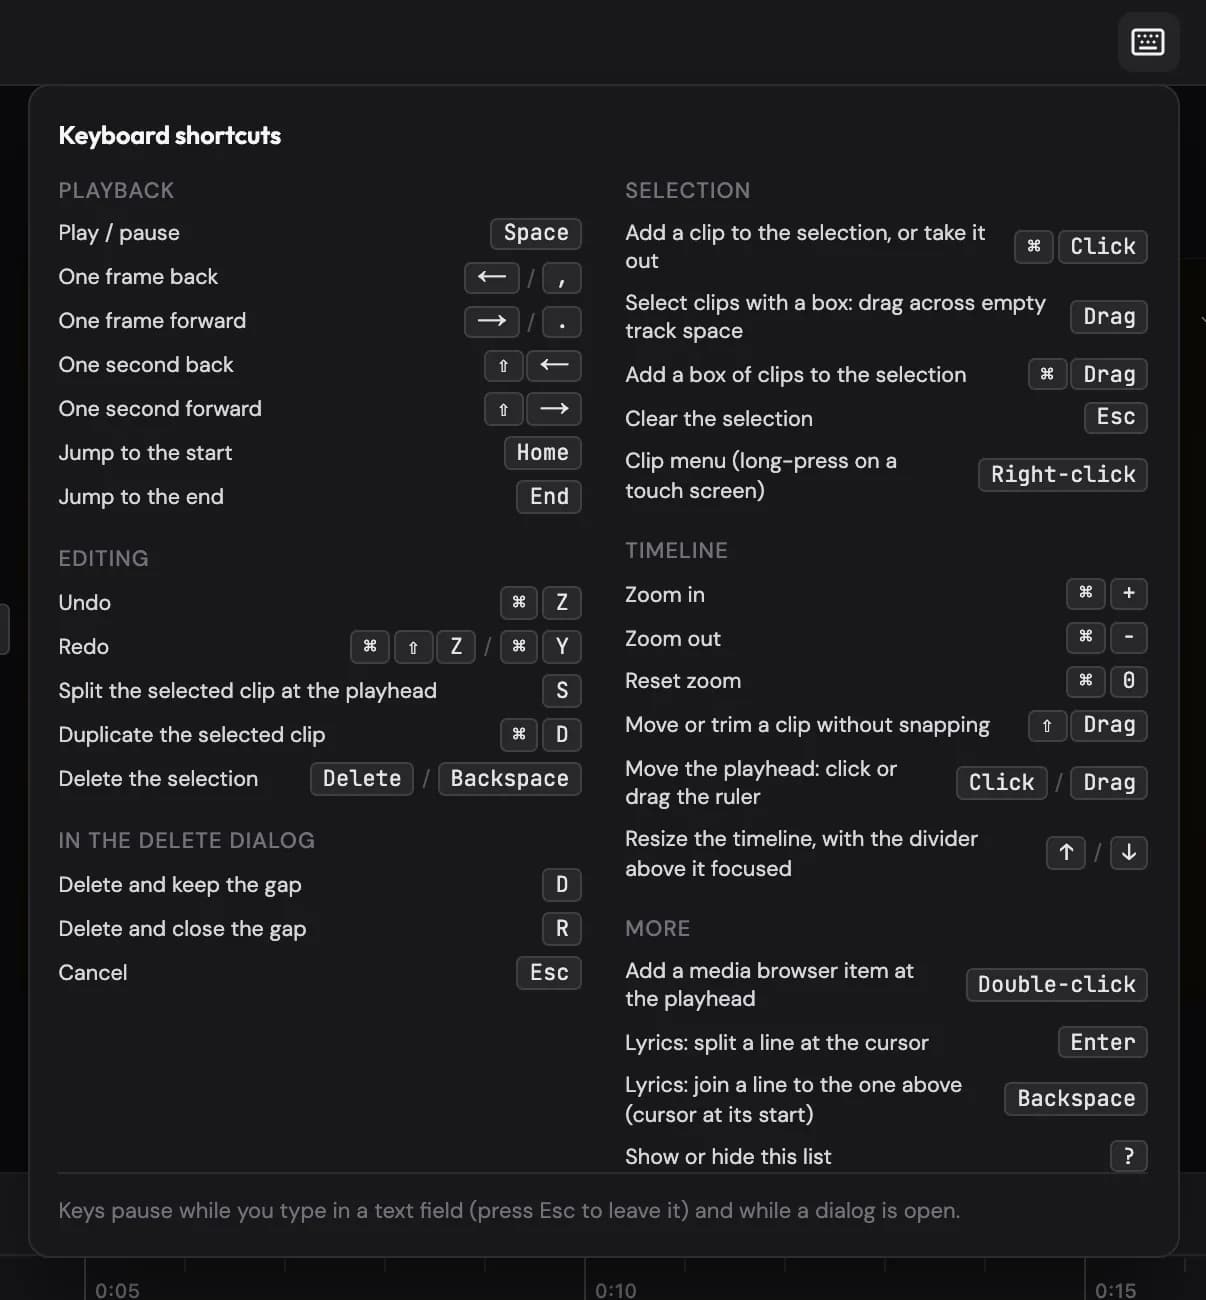
To see every shortcut, click the keyboard icon Show me in the app ↗ at the top right of the editor, next to the language flag, or press ?. The list stays open while you try the keys; click anywhere else or press Esc to close it. On a Mac it shows ⌘ where other computers use Ctrl — the tables below say Ctrl.
Playback
| Keys | What they do |
|---|---|
Space | Play / pause |
← or , | One frame back |
→ or . | One frame forward |
Shift + ← / → | One second back / forward |
Home / End | Jump to the start / end |
Editing
| Keys | What they do |
|---|---|
Ctrl + Z | Undo |
Ctrl + Shift + Z or Ctrl + Y | Redo |
S | Split the selected clip at the playhead |
Ctrl + D | Duplicate the selected clip |
Delete or Backspace | Delete the selection — then D keeps the gap, R closes it, Esc cancels |
Selection and timeline
| Keys | What they do |
|---|---|
Ctrl + click | Add a clip to the selection, or take it out |
| Drag across empty track space | Select clips with a box (hold Ctrl to add them to the selection) |
Esc | Clear the selection |
| Right-click (long-press on a touch screen) | Clip menu |
Ctrl + + / Ctrl + − / Ctrl + 0 | Zoom the timeline in / out / back to the default |
Shift while dragging or trimming | Move or trim without snapping |
| Click or drag the ruler | Move the playhead |
↑ / ↓ on the divider above the timeline | Resize the timeline one track at a time |
| Double-click a media browser item | Add it at the playhead |
Enter / Backspace in the lyrics editor | Split a line at the cursor / join it to the one above |
? | Show or hide the shortcuts list |
Shortcuts pause while you type in a text field (press Esc to leave the field) and while a dialog is open. Undo waits for your last change to save first, so it undoes that change even when you press it right away.
Auto-save and reset
Edits save automatically — the header shows Saving… / Saved Show me in the app ↗ as you work. If you want to throw everything away and return to the generated original, Reset Timeline Show me in the app ↗ deletes all editor changes.

Lite mode for slower computers
On a slower laptop the editor can switch itself to lite mode: clip thumbnails and audio waveforms on the timeline are turned off, and the preview loads one clip at a time. Editing, playback and export work exactly the same — the timeline just shows coloured blocks with labels instead of frames and waveforms.
The editor decides automatically: when it opens, it runs a quick check of the computer's speed and graphics. Fast machines get the full editor right away; slow ones get lite mode (a yellow notice appears with a Turn off button Show me in the app ↗); anything in between starts light and switches to the full editor a couple of seconds later once the page is running smoothly. If the page ever stalls for several seconds, the editor drops back to lite mode and remembers that for the next visit. You can also toggle it yourself at any time with the ⚡ button Show me in the app ↗ at the right end of the playback bar; your choice is remembered on that device. If a computer can't even open the editor, add ?lite=1 to the project's editor address once — it opens in lite mode from the start.