DocsEditor
Timeline editing
Trimming, replacing clips, editing narration, music, and sound effects.
This page covers the day-to-day edits: fixing a clip, rewording narration, adjusting audio.
Working with video clips
Select any clip Show me in the app ↗ to open its editor:
- Trim the source Show me in the app ↗ — set In/Out points with ±1 s and ±0.1 s nudge buttons; a "Using X of Y" readout shows how much of the source you're using.
- Find Different Clip Show me in the app ↗ — search YouTube, paste a specific URL, or pick from the backup clips VidNext found during generation. The new clip replaces the current one in place.
- Upload your own Show me in the app ↗ — drop in your own footage for that scene.
- Original audio Show me in the app ↗ — toggle the clip's own sound on or off.
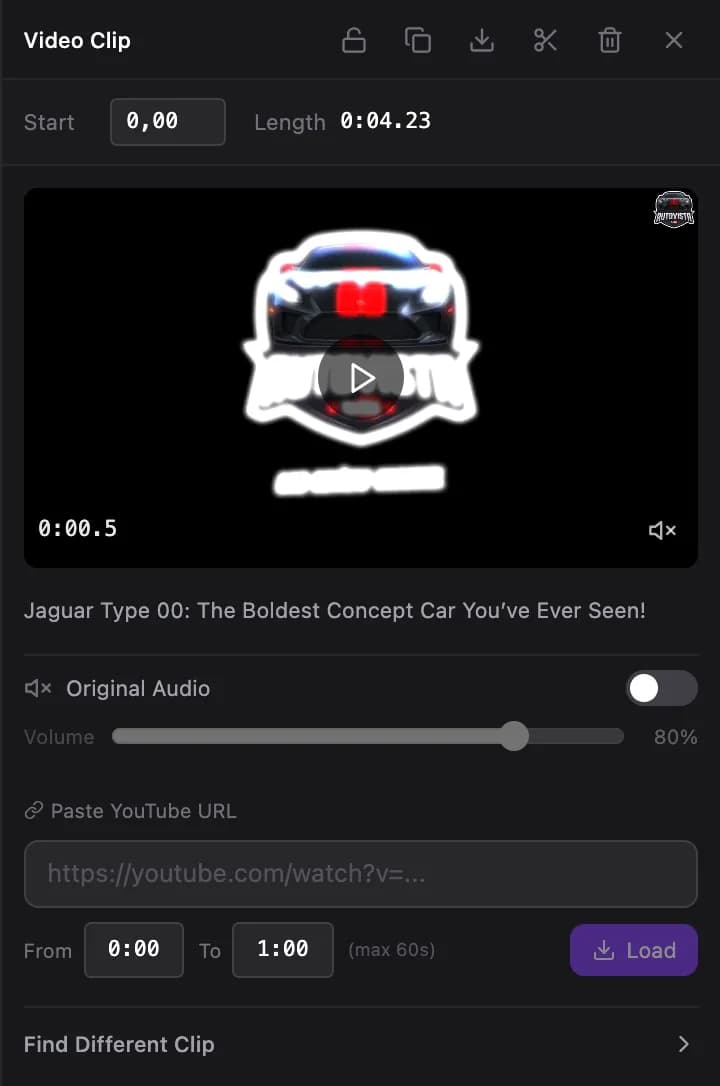
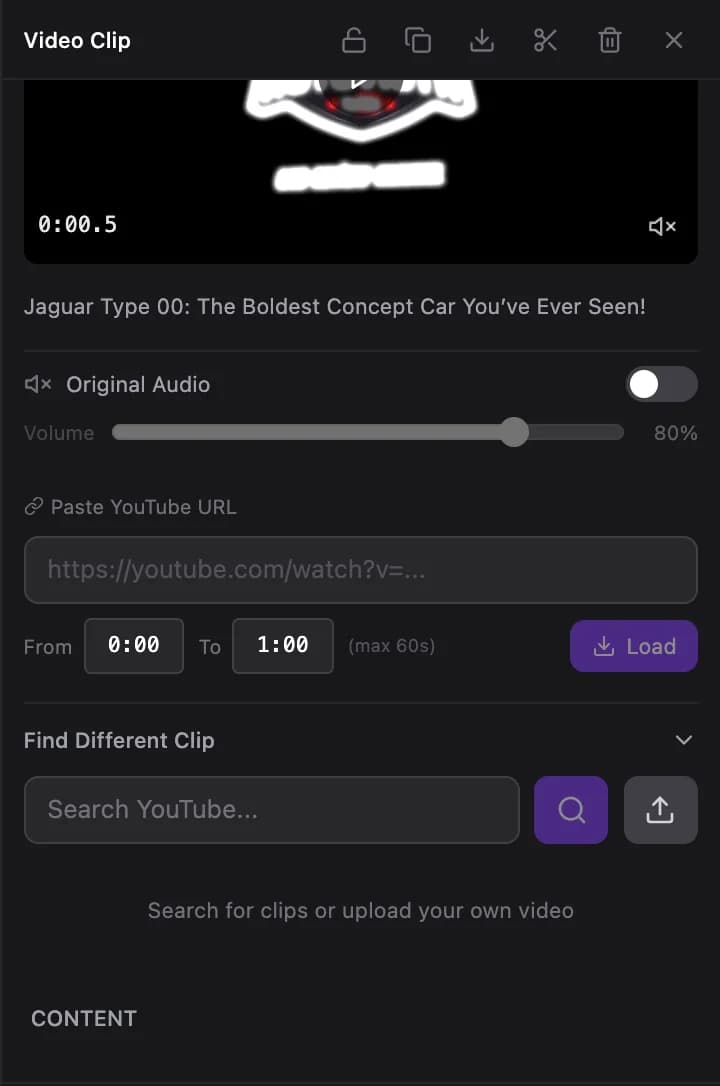
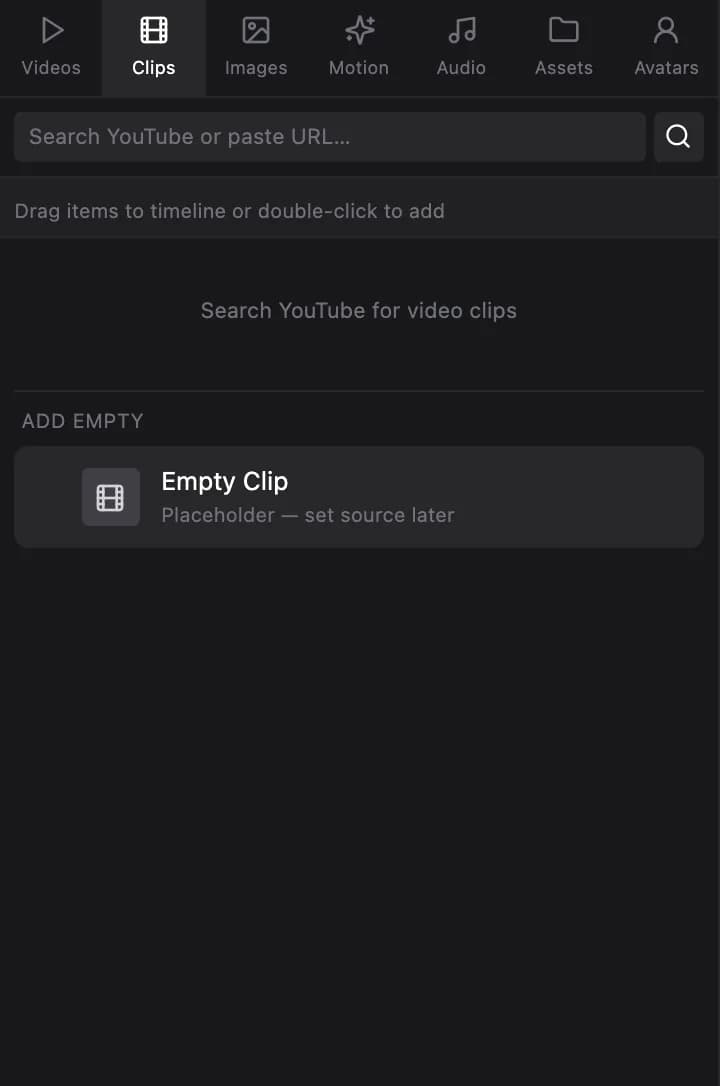
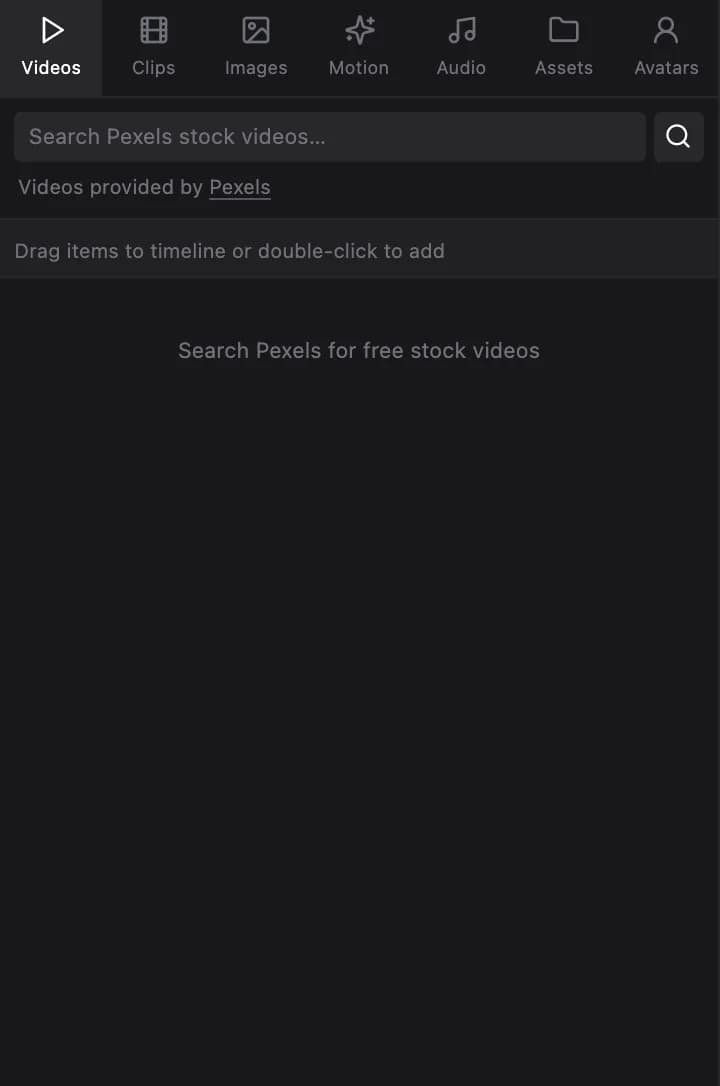
From the media browser you can also add entirely new clips — stock video via Pexels search Show me in the app ↗, or YouTube clips by search or URL (downloaded clips are capped at 60 seconds each). Drag to the timeline or double-click to add. An Empty Clip placeholder Show me in the app ↗ lets you lay out timing first and attach footage later.
Every Pexels result names its creator and links to its page on Pexels Show me in the app ↗. Stock photos work the same way, both in the Images tab Show me in the app ↗ and in an image's own stock search Show me in the app ↗. Whatever you add keeps its credit, so it appears in the video's stock credits.

Editing narration
Narration segments are editable text, not baked audio:
-
Select a narration element Show me in the app ↗.
-
Edit the script text Show me in the app ↗ (a character count and estimated reading time update live).
-
Optionally pick a different voice Show me in the app ↗ for this segment.
-
Regenerate Narration Show me in the app ↗ — new audio is created with the selected voice.
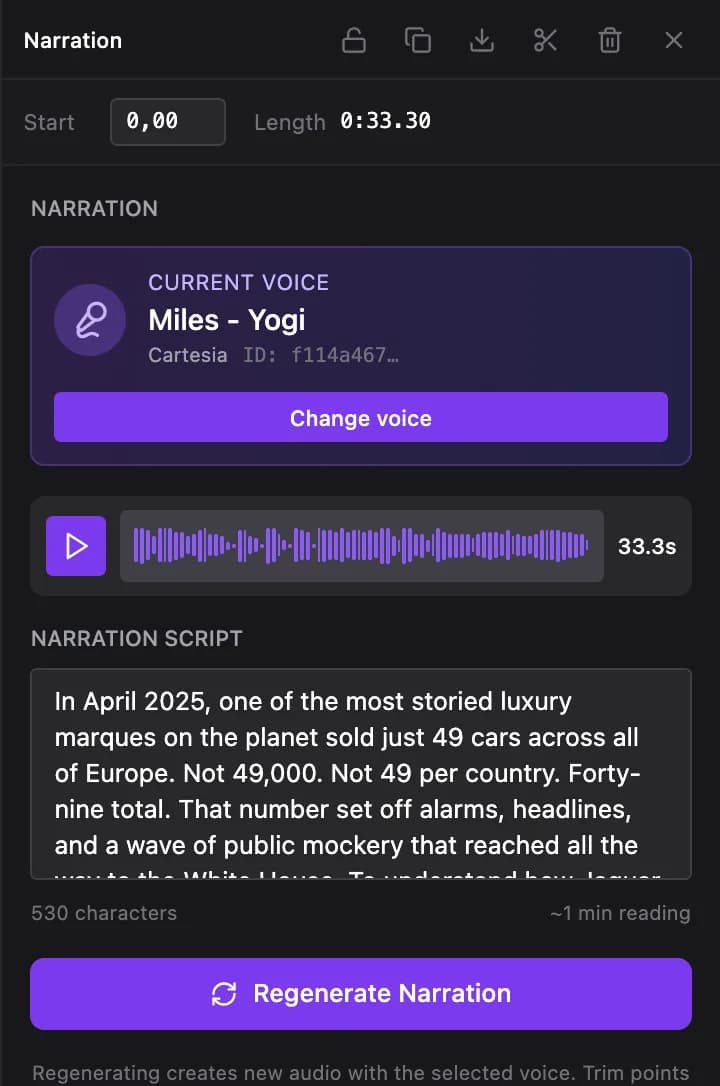
A narration segment's panel: the script, the voice, Regenerate Narration.
You can also trim narration on its waveform. Regenerating resets trim points, and because scene timing follows narration, expect to re-render after significant script changes.
In Japanese and Korean videos, every number in the narration is checked by listening once it has been voiced, and a number the voice got wrong is re-voiced automatically. If a number may still sound wrong, the narration panel lists it in an amber box Show me in the app ↗ with what was heard — click the number to hear that moment, or use Regenerate Narration to try again. Captions keep the digits exactly as they are in your script.
Japanese narration is also checked, before it is voiced, for words whose kanji the voice could misread — 空 in 空になり is said から, not そら — and those words are voiced from their reading while captions keep your script.
Transitions
Each cut's transition is an element on the Transitions track. Select it to pick another style from motion previews Show me in the app ↗ — hover a card to play it, the speaker button plays it with its sound — and to set its direction where it has one and its length Show me in the app ↗. A new style comes with its own natural length, and the transition always stays centred on its cut. Transitions from the Motion tab Show me in the app ↗ land on the cut nearest the playhead, or nearest where you drop them.
A transition's whoosh on the SFX track follows it: move the transition and the sound moves along, change its style and it gets that style's sound, delete the transition and the sound goes too.
Music and sound effects
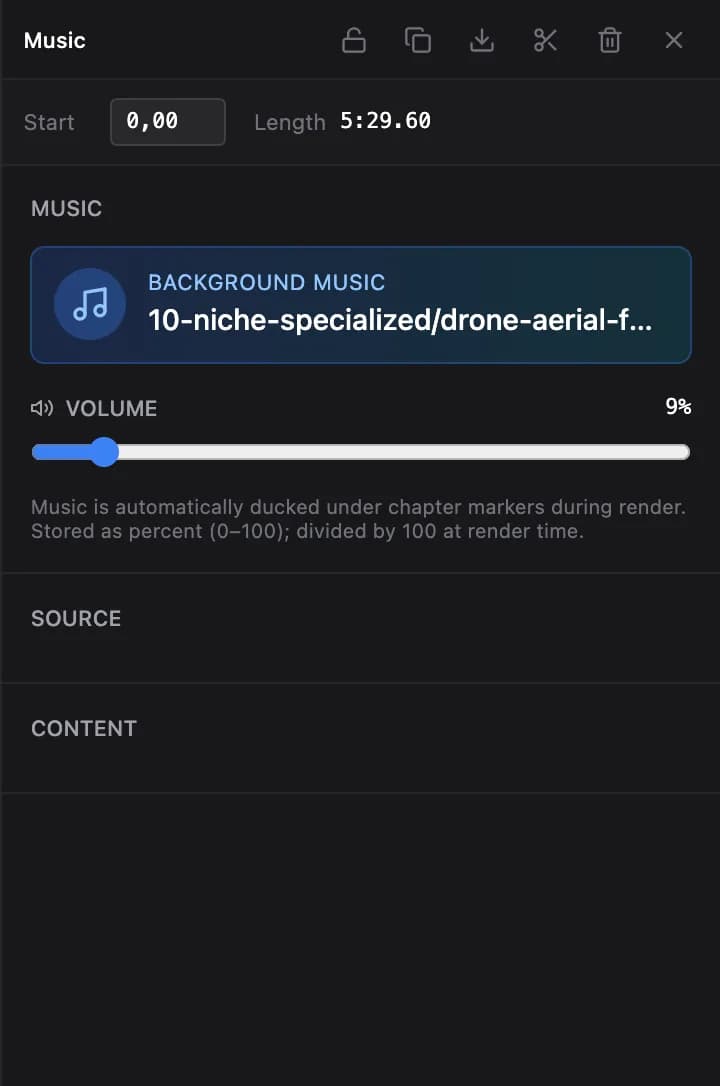
- Music — adjust volume Show me in the app ↗ or reset to the project default. Music is automatically ducked under narration and chapter markers.
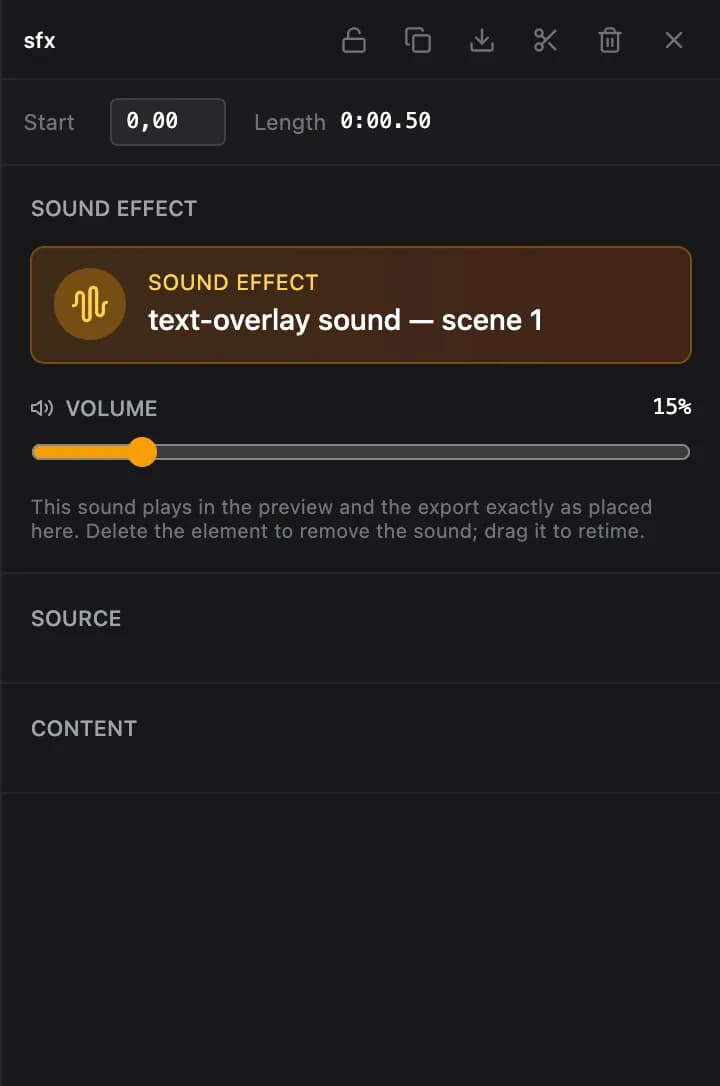
- SFX — every sound effect placed during generation (transition whooshes, template entry sounds) is a visible, labeled element on the SFX track. What you see is exactly what exports: drag to retime, adjust volume Show me in the app ↗, or delete to remove the sound.
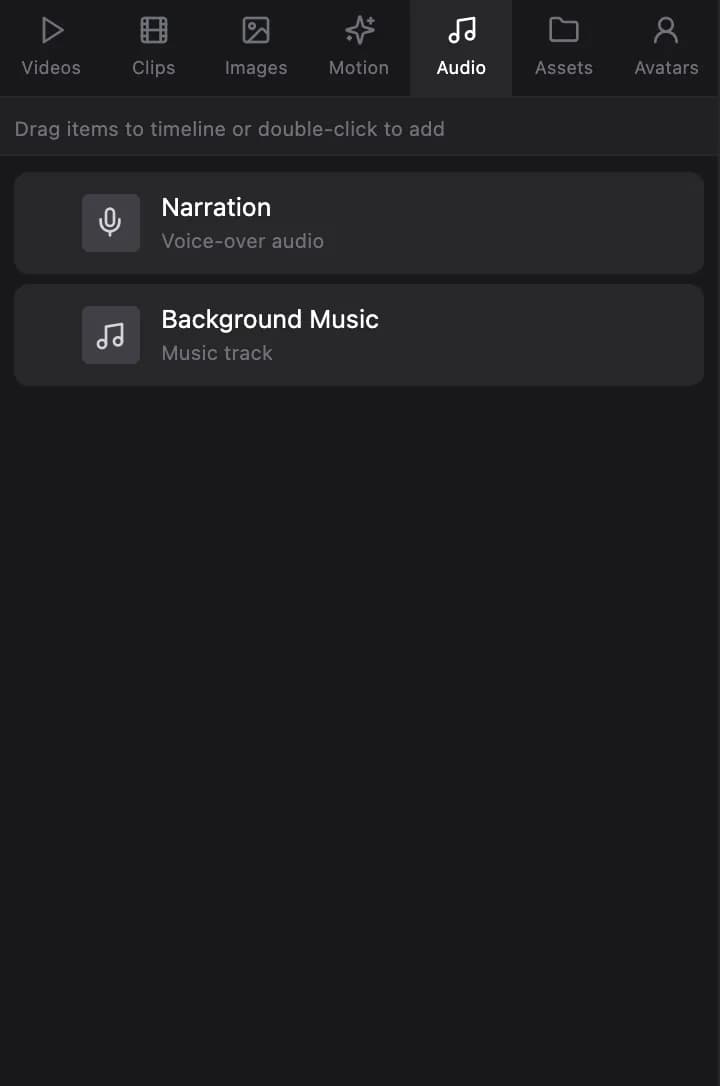
New narration segments and music tracks can be added from the Audio tab Show me in the app ↗:
The ending
A video made with an ending opens in the editor with it in place: the closing shot is the last clip on the Video track, and an Ending block sits on the Effects track above it. Over that block the music rises, then the picture and the music fade out together — in the preview and in the export.
- Drag the block's edges to change where the fade happens; the video goes black at its end.
- Select the block to set the fade length Show me in the app ↗, or Remove ending Show me in the app ↗: the block and its closing shot are deleted and the music and captions are trimmed back to the last clip. Clips you placed there yourself stay.
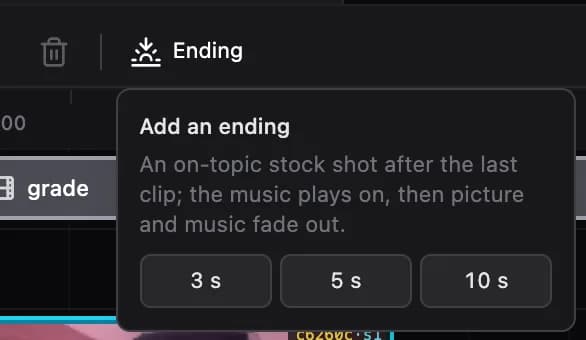
- A long video without an ending gets one from the Ending button Show me in the app ↗ in the strip above the timeline: pick 3 s, 5 s or 10 s Show me in the app ↗ and VidNext adds an on-topic stock clip after the last clip, stretches the music under it and adds the block. If no fitting stock clip turns up, the last shot is held for the ending instead — swap it for any clip from the Videos tab. One undo reverses the whole step.
Images
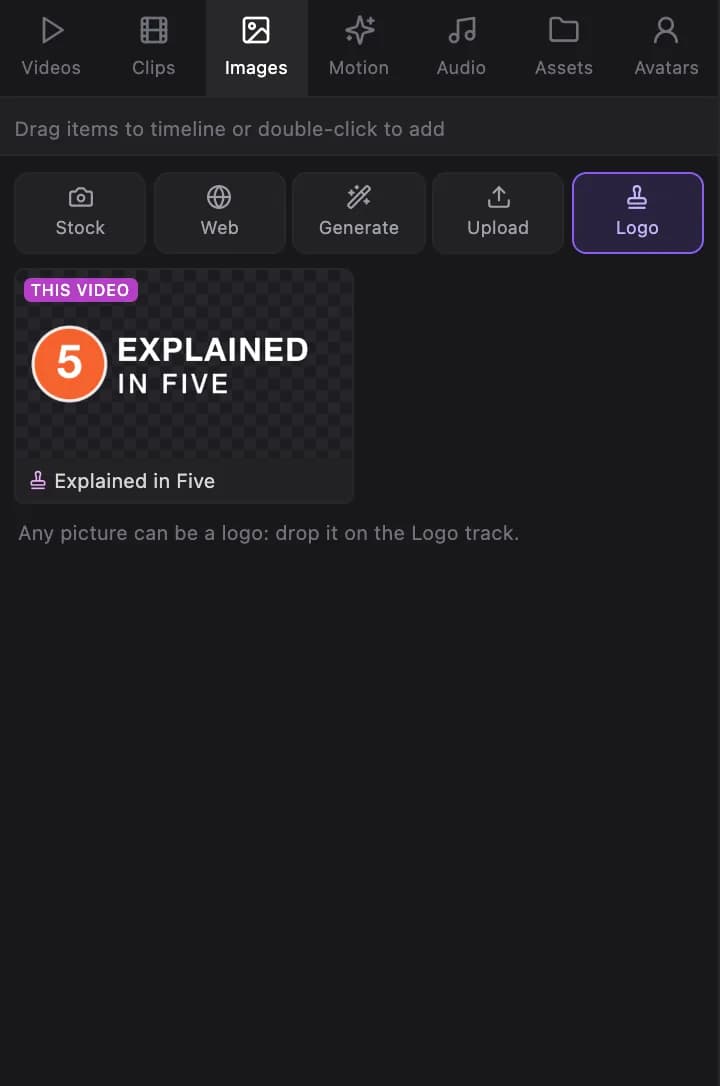
Image scenes carry their search query, match score, duration (2–15 s), and animation (zoom in/out, pans, static). You can re-run the search with a new query Show me in the app ↗, regenerate an AI image, switch the animation, or pick a different design template. The Images tab in the media browser has five sources Show me in the app ↗ — Stock, Web, Generate, Upload and Logo (your channels' logos, see The Logo track):
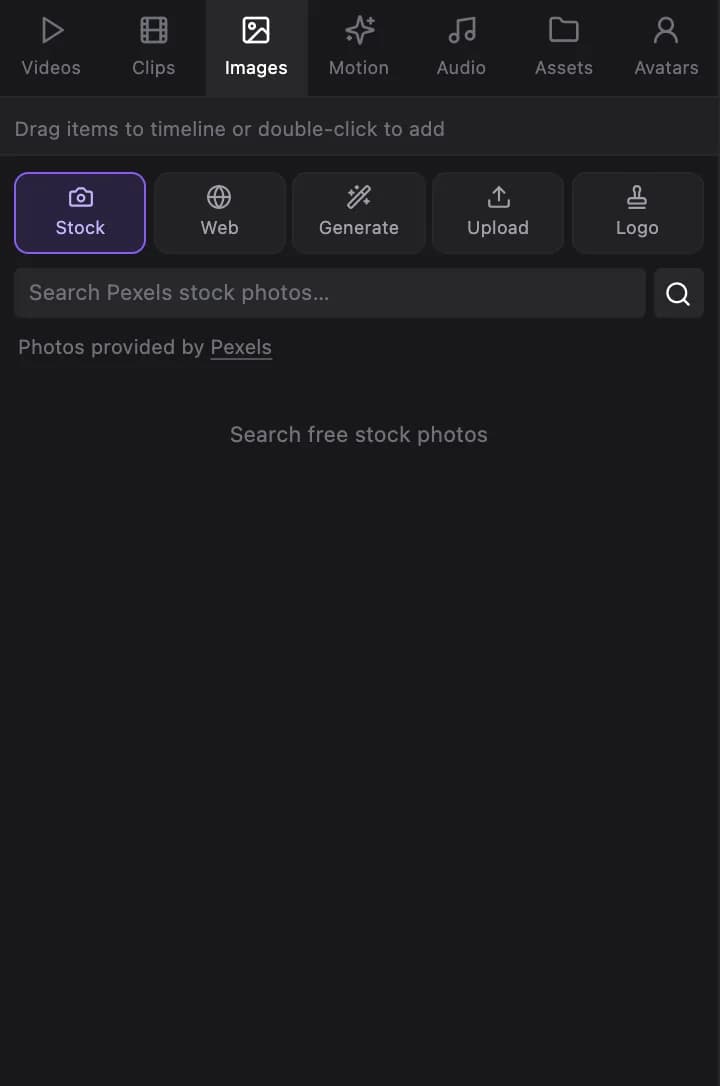
A file you add with Upload Show me in the app ↗, Upload Your Own Image Show me in the app ↗ on an image scene or Upload video Show me in the app ↗ on a clip is also saved to your Assets library Show me in the app ↗, so you can reuse it in other videos. It counts toward your library storage.
Splitting elements: press S to split at the playhead — works on clips and audio alike. Deleting a middle piece prompts whether to keep the gap Show me in the app ↗ or close it and pull everything left.
The Avatar track
Videos created with an AI avatar get an Avatar track Show me in the app ↗ between Graphics and Overlays, with one element per scene where the presenter appears. The properties panel Show me in the app ↗ changes the layout (full screen, corner or split), the corner, size and shape, and offers Regenerate for another take. A presenter made for the video is always muted: the narration track carries the voice. Drag a look from the library's Avatars tab Show me in the app ↗ (its Looks part) onto a scene in the Video lane to add a presenter where the plan had none, or drag one of your avatar videos from its Videos part: on the Video lane it becomes a clip with its own voice, on the Avatar track a presenter window that speaks. To keep a take, select its element and press the download button in the properties panel header, or right-click the element and choose Download file: the presenter clip saves as an MP4 (a scene still on the still image saves that picture).
The Logo track
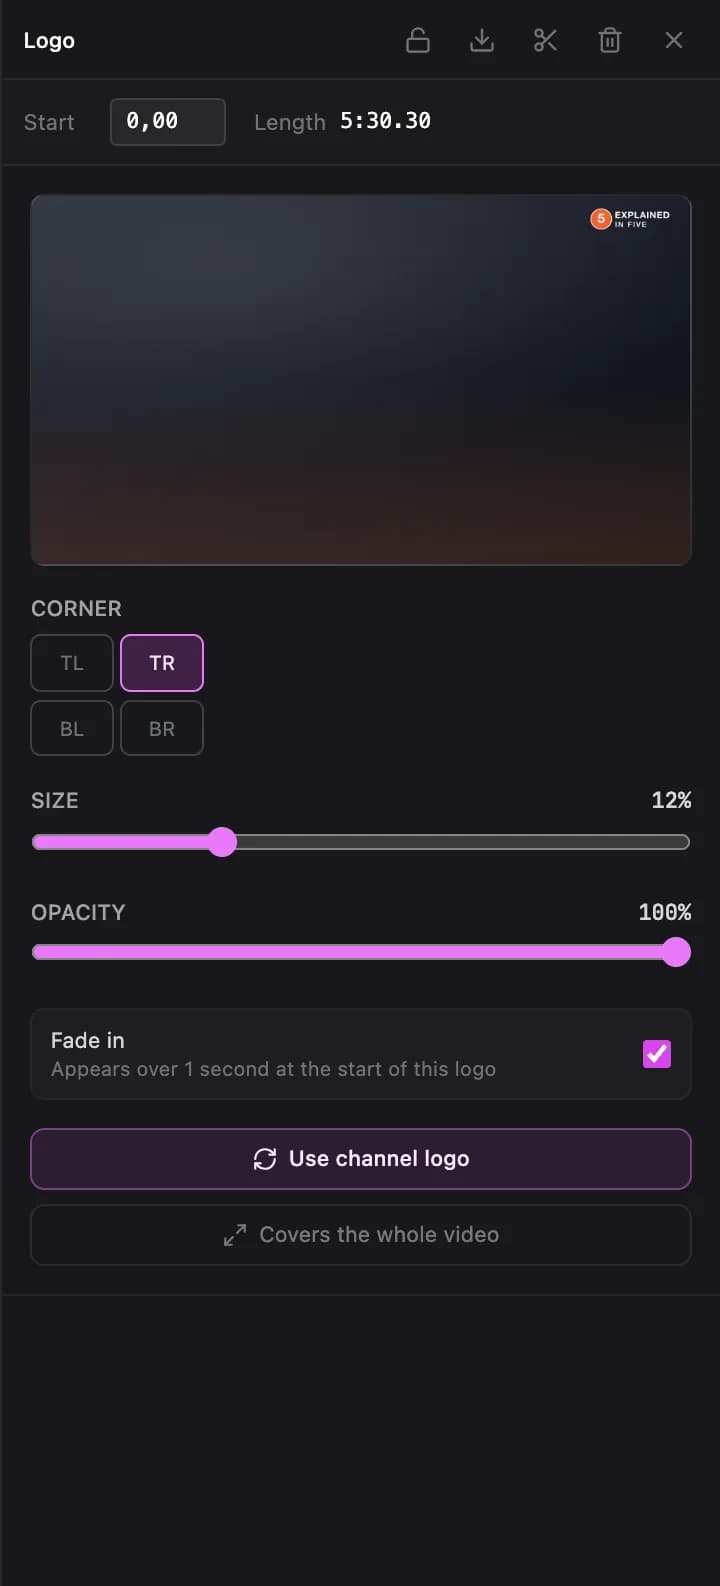
A video made with your channel's logo opens with a Logo track Show me in the app ↗ at the top of the list and one logo over the whole video. Select it to change it in the properties panel Show me in the app ↗: a preview in this video's frame, the corner Show me in the app ↗, size Show me in the app ↗, opacity Show me in the app ↗ and Fade in Show me in the app ↗. Use channel logo Show me in the app ↗ puts the channel's current logo and settings back on it, and Cover the whole video Show me in the app ↗ stretches it from the first to the last second.
- Add or change a logo. The Images tab's Logo source Show me in the app ↗ lists this video's own logo (when it was made with one) and the logos of your channels, this video's channel first Show me in the app ↗. Drag one onto any picture track and it lands on the Logo track (created the first time). Where a logo already is, the dropped one replaces its image and keeps its timing and settings; on empty space it runs from the drop point to the next logo or the end of the video. Double-click a logo in the list (tap on a phone) to cover the whole video when there's no logo yet, or to give the logo at the playhead that image.
- Any picture can be a logo. Drop an image from Stock, Web, your Assets or your computer onto the Logo track: pictures from Stock or the web are copied into your project first, and only the first image of a multi-file drop is used.
- Editing. Logos move, trim, split and delete like other elements, but only within Logo tracks, and nothing else moves onto them. The right half of a split doesn't fade in again. A logo never makes the video longer, and Add ending / Remove ending stretch or trim it with the music and captions. Hide or lock the track like any other; a locked or hidden Logo track doesn't take drops.
The preview and the export draw the logo exactly the same way, and an export never adds a logo you didn't put there.
Timeline panel height
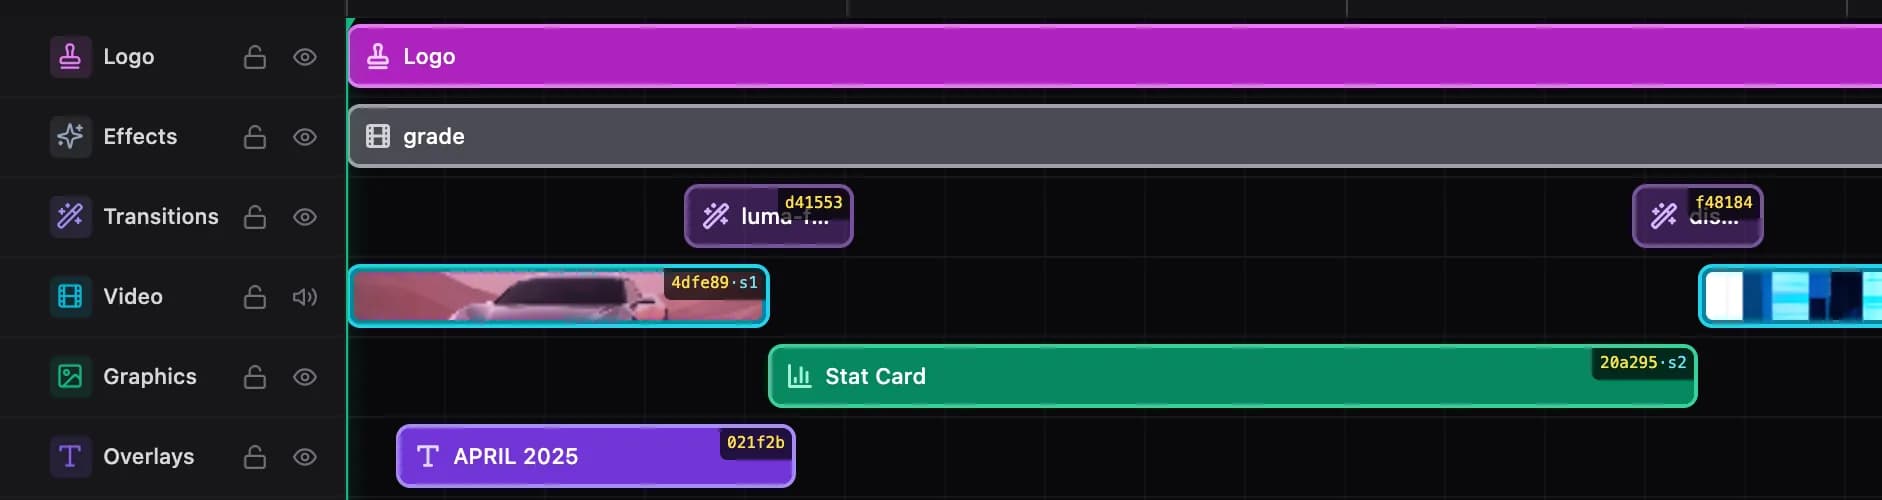
The bottom panel is resizable. Drag the thin divider just above the playback controls: up to see more tracks at once, down to shrink the timeline to as few as two tracks and give the preview more room. Double-click the divider to return to the default (six tracks), or focus it and use ↑/↓ to step one track at a time. The height you choose is remembered on that device.